Sunday, February 14, 2016

Primary mirror boundary layer ring baffle


After reading about better ways to cool the primary mirror I came across a discussion on the internet forums about a ring baffle installed just above the primary mirror.
The purpose of the ring is to redirect the air from the fan across the top of the primary to help scrub the warm air boundary layer that sits on the face of the mirror.

This is what I came up with:
I found a 12" ring from Michael's. The ring is made from biodegradable wood fibers making it easy to sand and file.
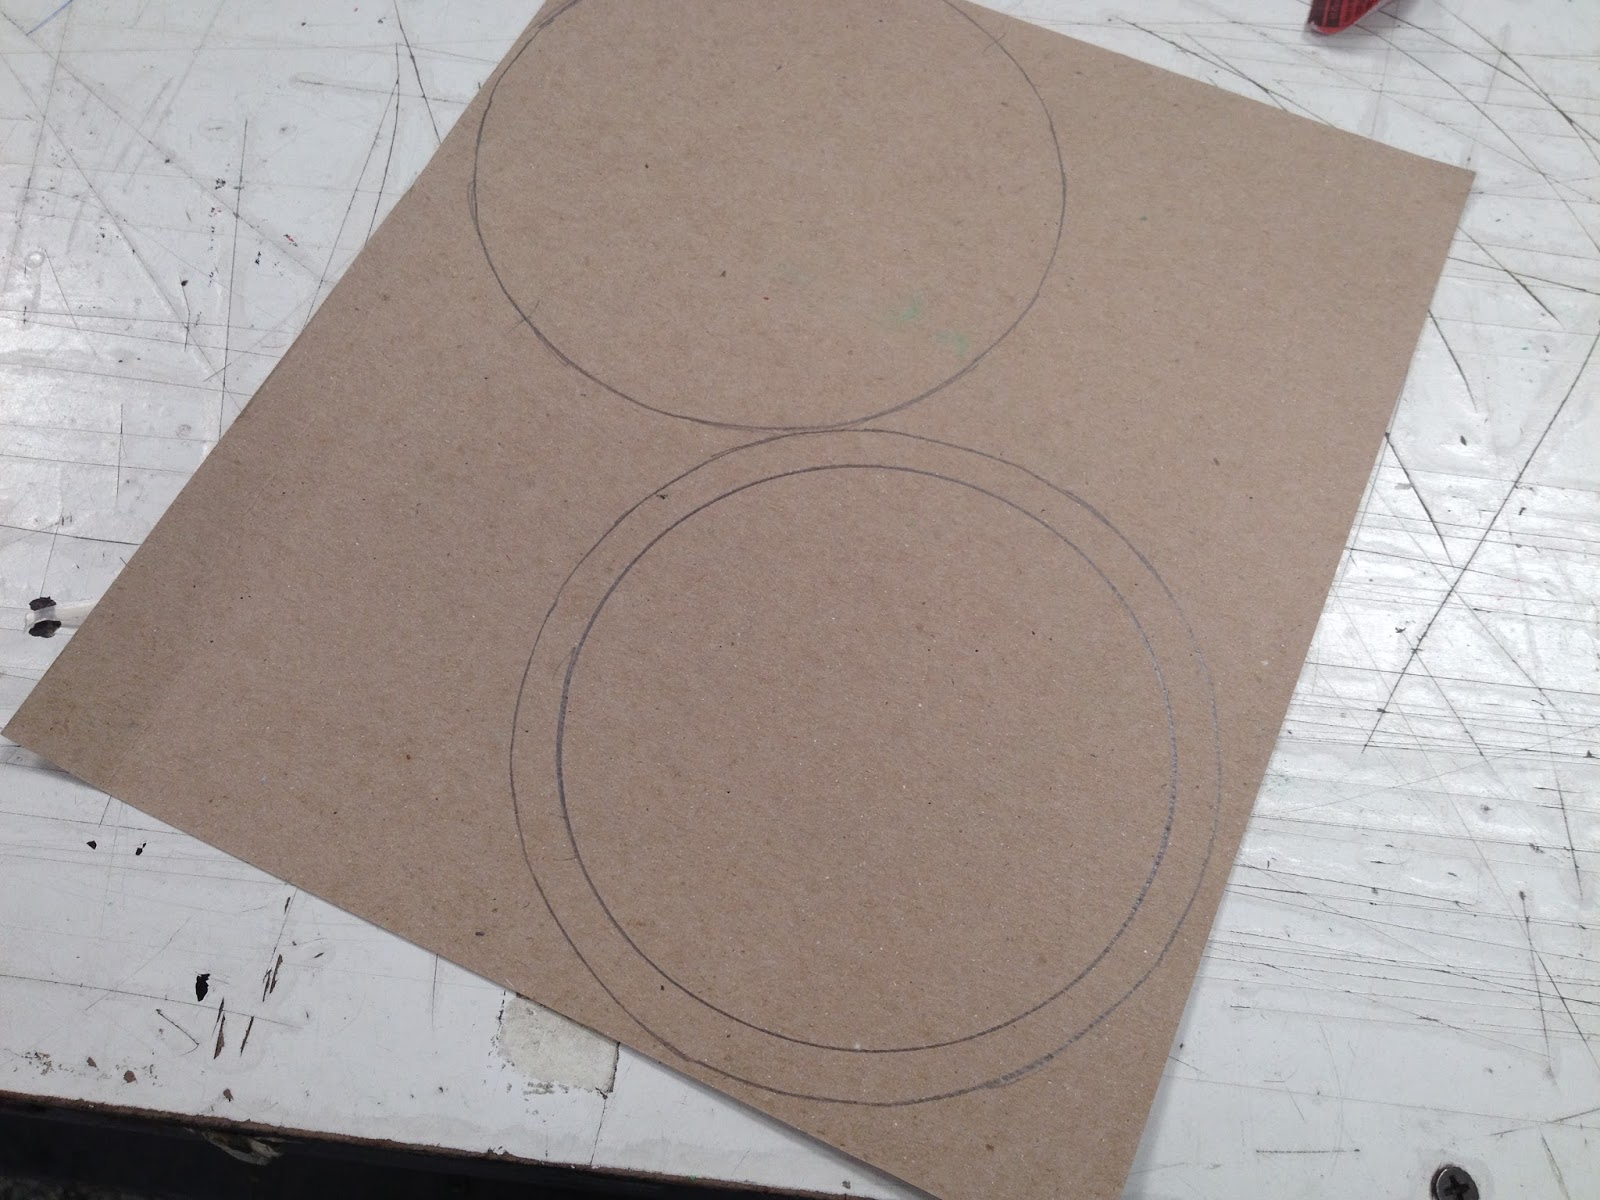
First I traced an outline of the ring to help keep track of the measurements and make sure it stayed round.
I filed and sanded smooth the outside of the ring until it was slightly smaller than 12" to make a snug fit in the tube.
The primary mirror is 9 3/4" so the inside was filed and sanded to be just a hair bigger so none of the mirror face was being blocked by the ring.


After filing to size I painted the ring flat black then used flocking paper for the top just to make sure it was dark in the tube.
I'm attaching the ring to the primary clips so I drilled out holes for the screws and filed a notch to fit over the seam in the telescope tube.


Making sure it all fits right!


Here is the completed boundary layer ring baffle attached to the cell with the freshly cleaned primary mirror ready to go back into the tube!


Wednesday, November 18, 2015

2" Eyepiece tray

 The old tray only holds three 2" eyepieces and two 1 1/4" eyepieces.  I keep my 1 1/4" eyepieces in 2" adapters and since I have five eyepieces I would have to keep one on the base or in my pocket.

Here is my solution!

Making an eyepiece tray to hold four 2" eyepieces and a 1.25" barlow.

Starting with a piece of aluminum sheeting and cut to size.

Bending it 90* for mounting it to the base.

I used the old tray to size and space the holes where I want them.

I used a 2" and a 1 1/4" hole saw to cut the holes for the eyepieces. (The angle makes the the trays look different but they are the same length.)

2 coats of black spray paint.

1 in the focuser and 5 in the tray all ready for the night!


Monday, June 1, 2015

Making a Sun Filter for the Starblast 4.5

To make the filter I used a sheet of Seymour Solar film, construction paper, wood glue, double sided tape and a strip of moleskin.

First step cut the construction paper into strips.


 I took two pieces and taped the together around the front of the scope to size the filter ring.  Then started gluing the remaining strips to the ring with the wood glue and let them dry over night.  
  After it was together I used sandpaper to smooth out the edges.
(One tip would be to size the filter ring a little big because after it was done it got a little tight around the scope.)


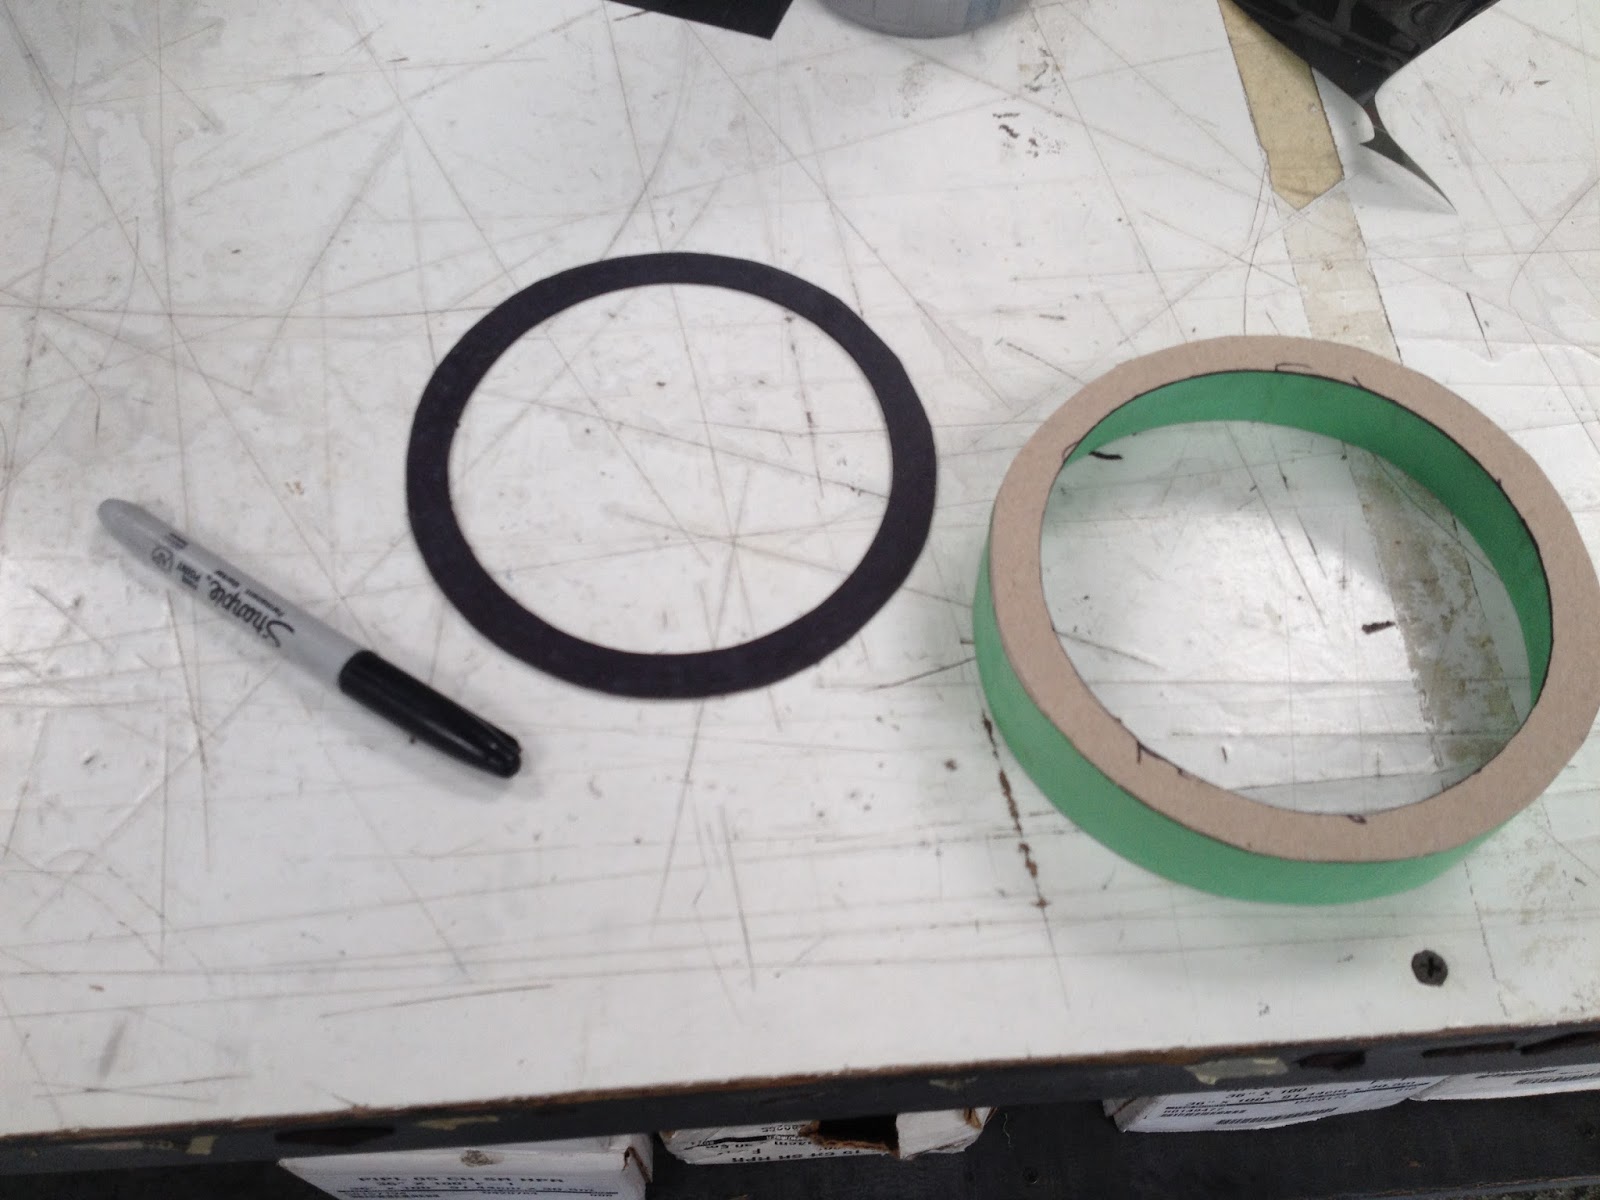
Next step was to trace out some rings on a thin sheet of cardboard.  
I used the filter ring as my guide for the outer edge then a roll of masking tape to trace the inside edge.


I cut them out with an Olfa knife and and glued one to the filter ring and let it dry over night.


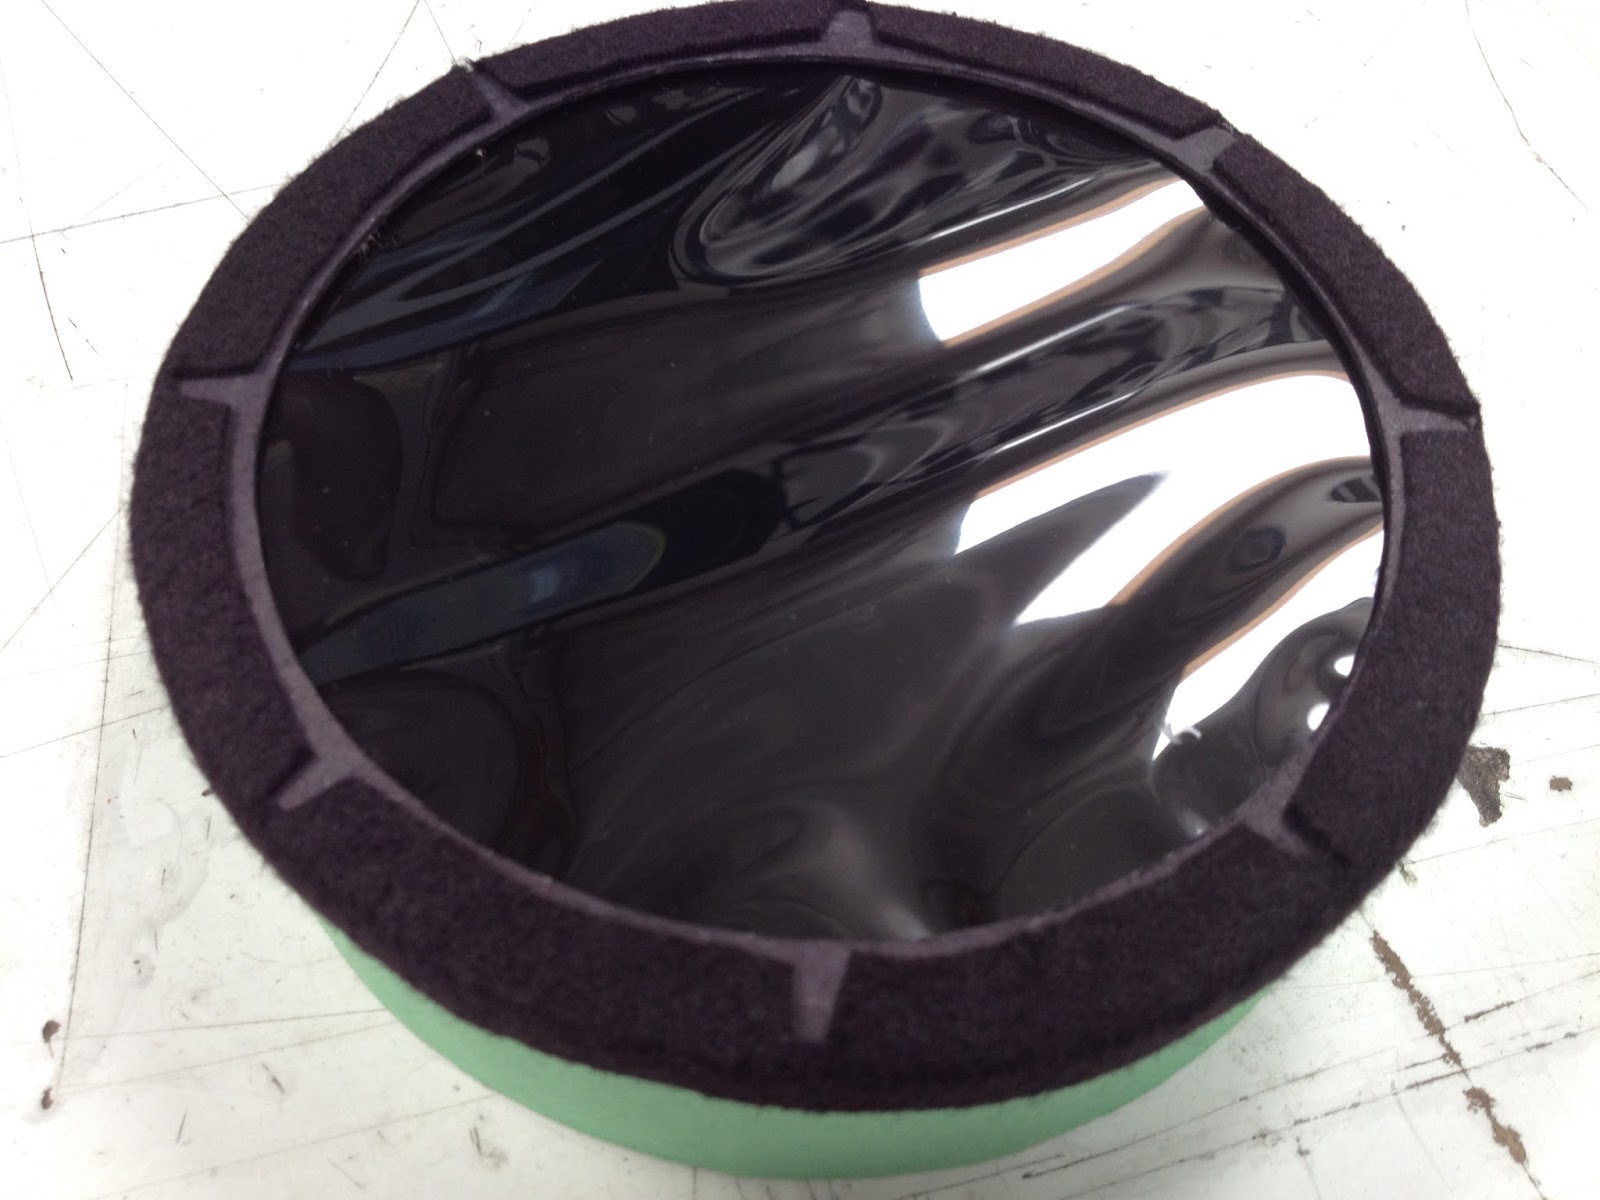
After it was dry I put little pieces of double sided tape on both sides of the rings then turned the whole filter ring upside down on the Seymour film and using the Olfa cut the film to fit.


The top ring was then put on top of the filter and pressed down to make sure the double sided tape was stuck.


Just as a precaution to keep it all together I used a strip of moleskin around the edge.  


The filter is now done and ready for viewing!


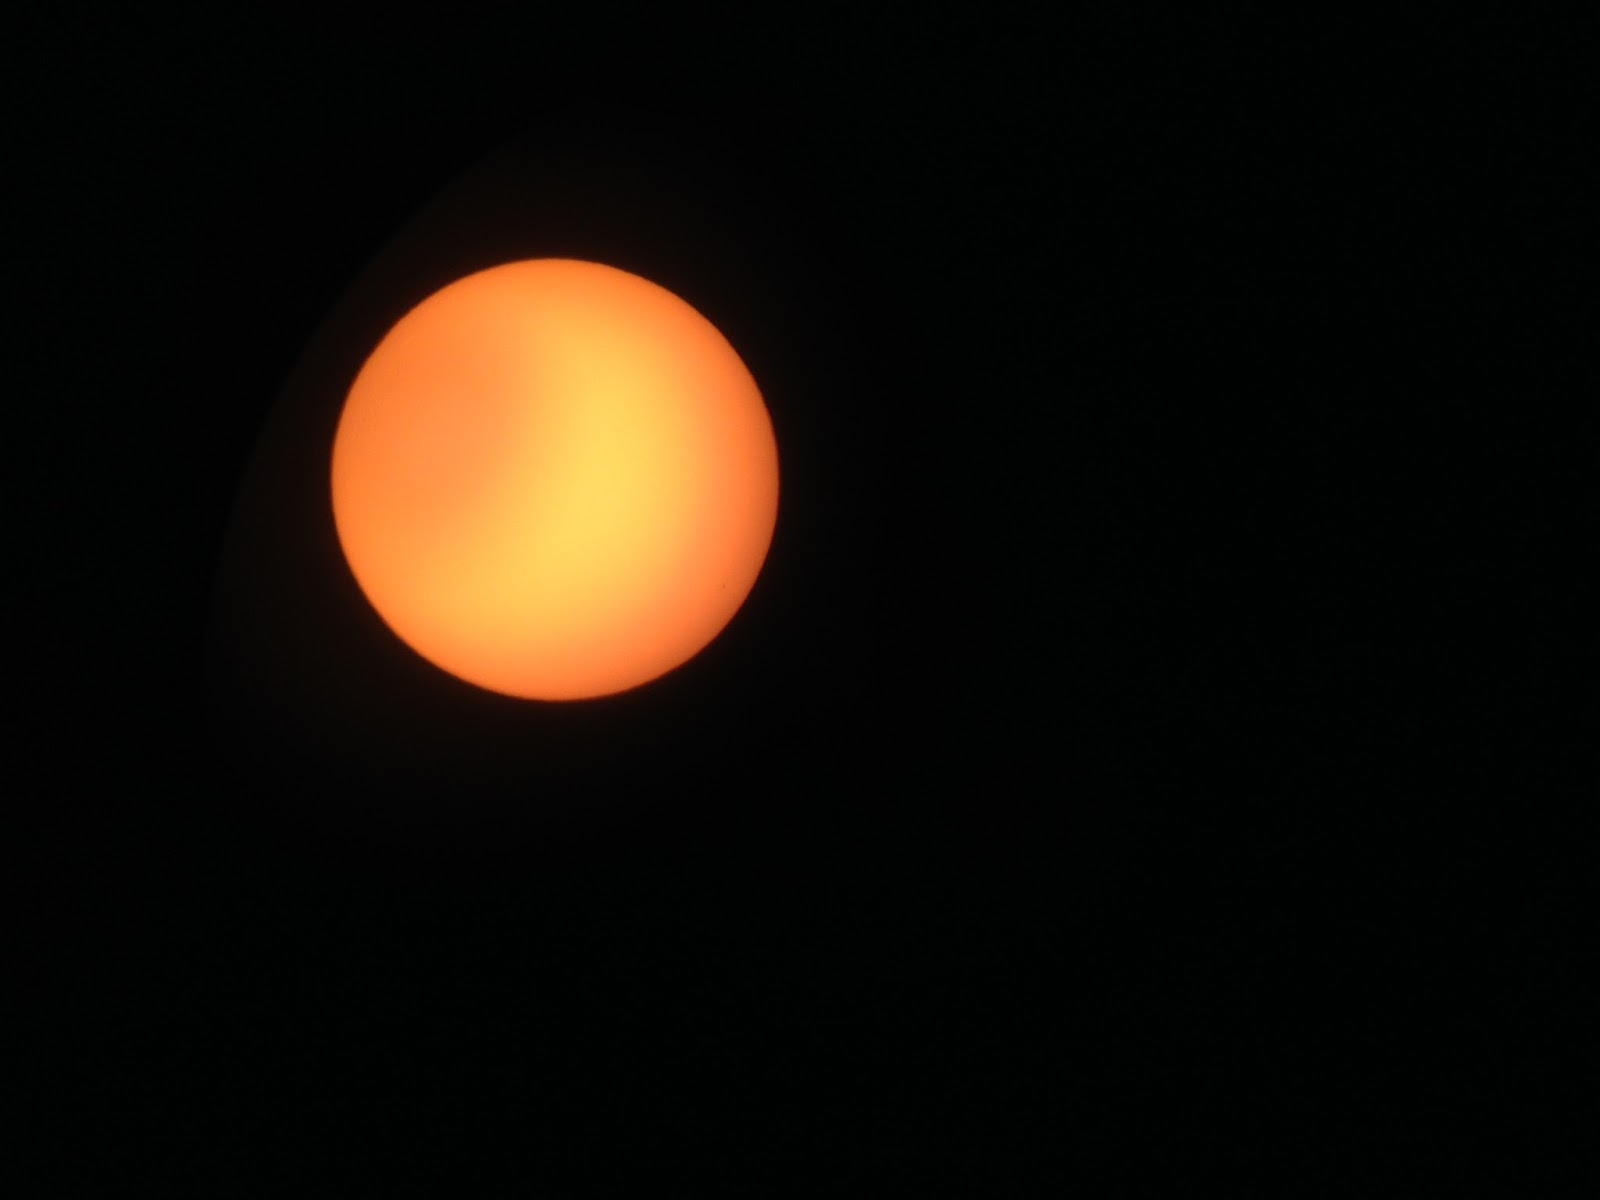
The first views!  I tried to take a picture with my phone which was a little difficult to line up.  The view was a lot better through the eyepiece.  


There was a Sun spot in the lower right that was difficult to focus on with the phone so I zoomed in for a better view.


The Sun filter was pretty quick and easy to make and like I stated earlier the views of the Sun spot were much better than what the pictures show!


Monday, March 16, 2015

Fan Baffle

I made a fan baffle out of foam board for the back of the AD10 to help with the cool down time.  It seems to be working pretty good so far.


Now it really pushes a lot of air!


Sunday, February 22, 2015

Starblast 4.5 Sketch M53

Sketch of M53 from February 15, 2015.


Astro Tech High Grade Plossl 12.5mm 36x


Monday, January 26, 2015

Thursday, January 1, 2015

Starblast 4.5 Sketch Comet Lovejoy

The first sketch with the Starblast is comet C/2014 Q2 (Lovejoy).  The sketch was made from my balcony on Monday, December 29, 2014.


Astro Tech High Grade Plossl - 17mm 26x


Orion Eplorer ll - 17mm 1.5 x barlow 39x