Thursday, June 26, 2014

Cooling Fan

While waiting for the primary mirror  I did some work on the fan.  I read a few posts that said the fan works better if its not mounted directly to the cell.  The baffle was made with an ABS plastic sheet.  A hole was cut out of the center and the fan was mounted to the plastic.  A thin bungee was attached to ABS board and then looped around the primary locking screws.


The orange dots on the primary knobs are to help with collimating the mirror.

The cork pads the primary mirror sits on were glued on in just random positions.  I removed and replaced them in more of a triangle position so the primary will now rest on two pads instead of just one.


Secondary

In order to make adjusting the secondary easier, I ordered a set of Bob's Knobs.  Now collimation adjustments can be made without the use of a screwdriver.


While I was messing with the secondary, I decided to clean it with distilled water and dish washing soap.


Thursday, June 19, 2014

Collimation tools and refigure

I wasn't getting good pin point stars with the high power eyepieces so I bought the collimating tools from Catseye.  They are very well made and very precise.


After spending hours getting the mirrors lined up as perfect as I could  with the tools, I still was disappointed with the views.  I did a star test and though I'm no expert I could tell something was not right so I decided to send the mirror in for testing.  
  As I expected the results were not so good.  I was told the correction in the outer areas is pretty good but around 4 inches across the center is flat with no correction, beyond what the diagonal would cover.  That would explain the focus issue.  Also the very tip edge of the mirror is turned down.  So I gave the go ahead for the refigure.  
  That was a few months ago and now the mirror is done with the refigure and is at the coaters right now.  When the mirror is done I will take it out and hopefully get excellent views!  After which I will post who did the refigure and the coating.

Sunday, June 15, 2014

Eyepiece case

I use a Kelty Cache box to carry everything.  The top and bottom are a soft rubber and the inside is lined.  It has a handle on three sides and zipper closure.  Everything fits inside nice and snug.


The fan battery pack and batteries are kept inside a little compact camera case.


Sky Atlas and Sky Safari

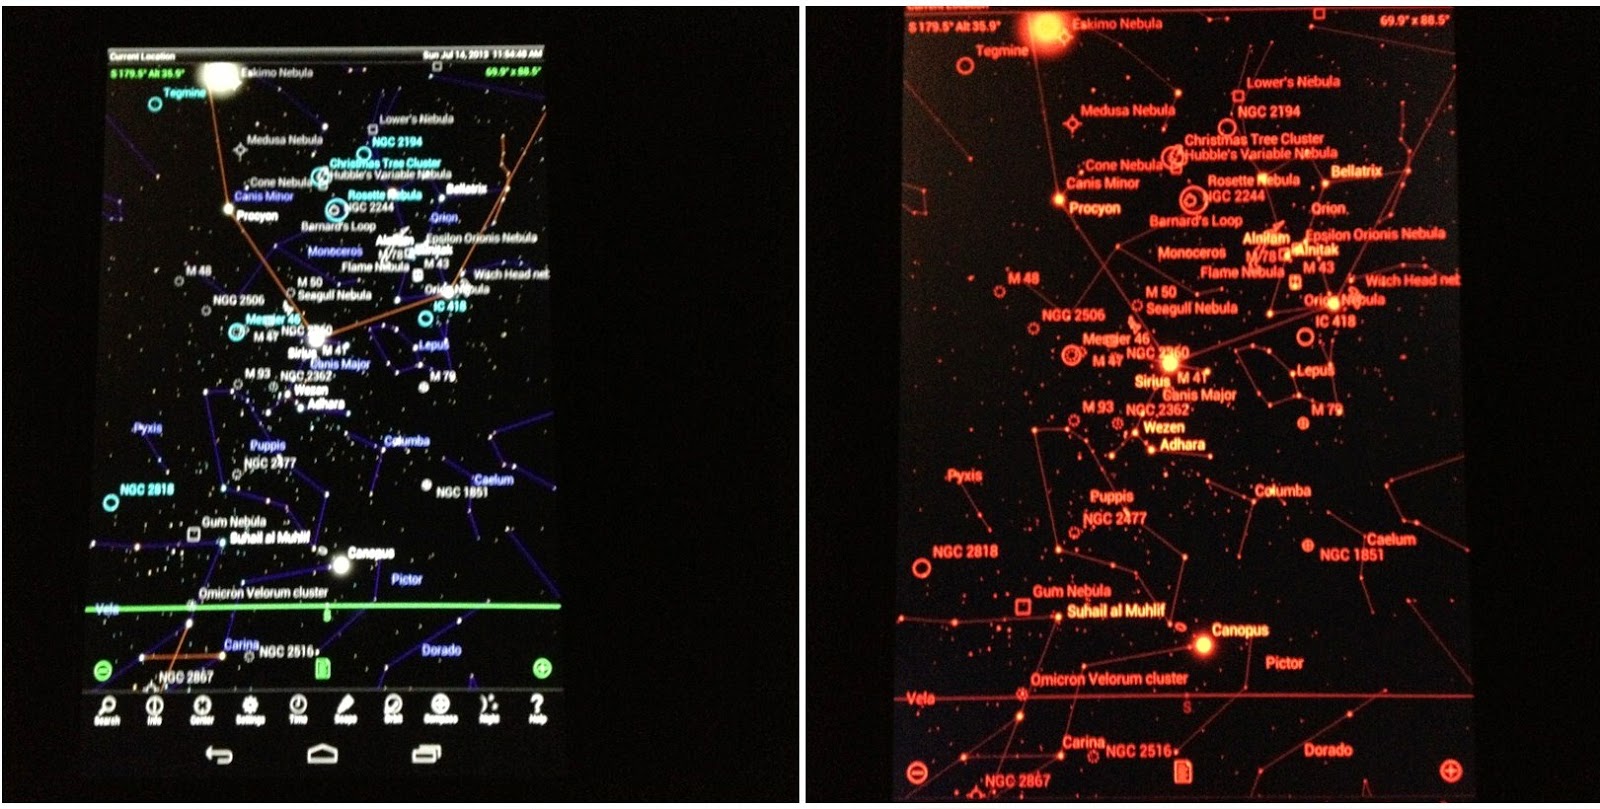
For star hopping I use both Pocket Sky Atlas and Sky Safari.  The Sky Safari is downloaded to my Nexus 7.  Sky Safari has Telrad circles and eyepiece field of view rings which makes star hopping a breeze.  I can't say enough about Sky Safari it does just about everything.   Get it you won't be disappointed!


Regular and night vision


I like to use The Pocket Sky Atlas to plan my evening.


I use the Sky Safari to log all the objects I see but I also like to log everything in a notebook.  I chose the Rite in Rain notebook because when the dew forms the pages of a regular notebook can get soggy.  I have a little LED flashlight that hangs around my neck with the red lid from a Carmex lip balm tube taped on.  The red light helps to keep my night vision.


Eyepieces, extender and filter

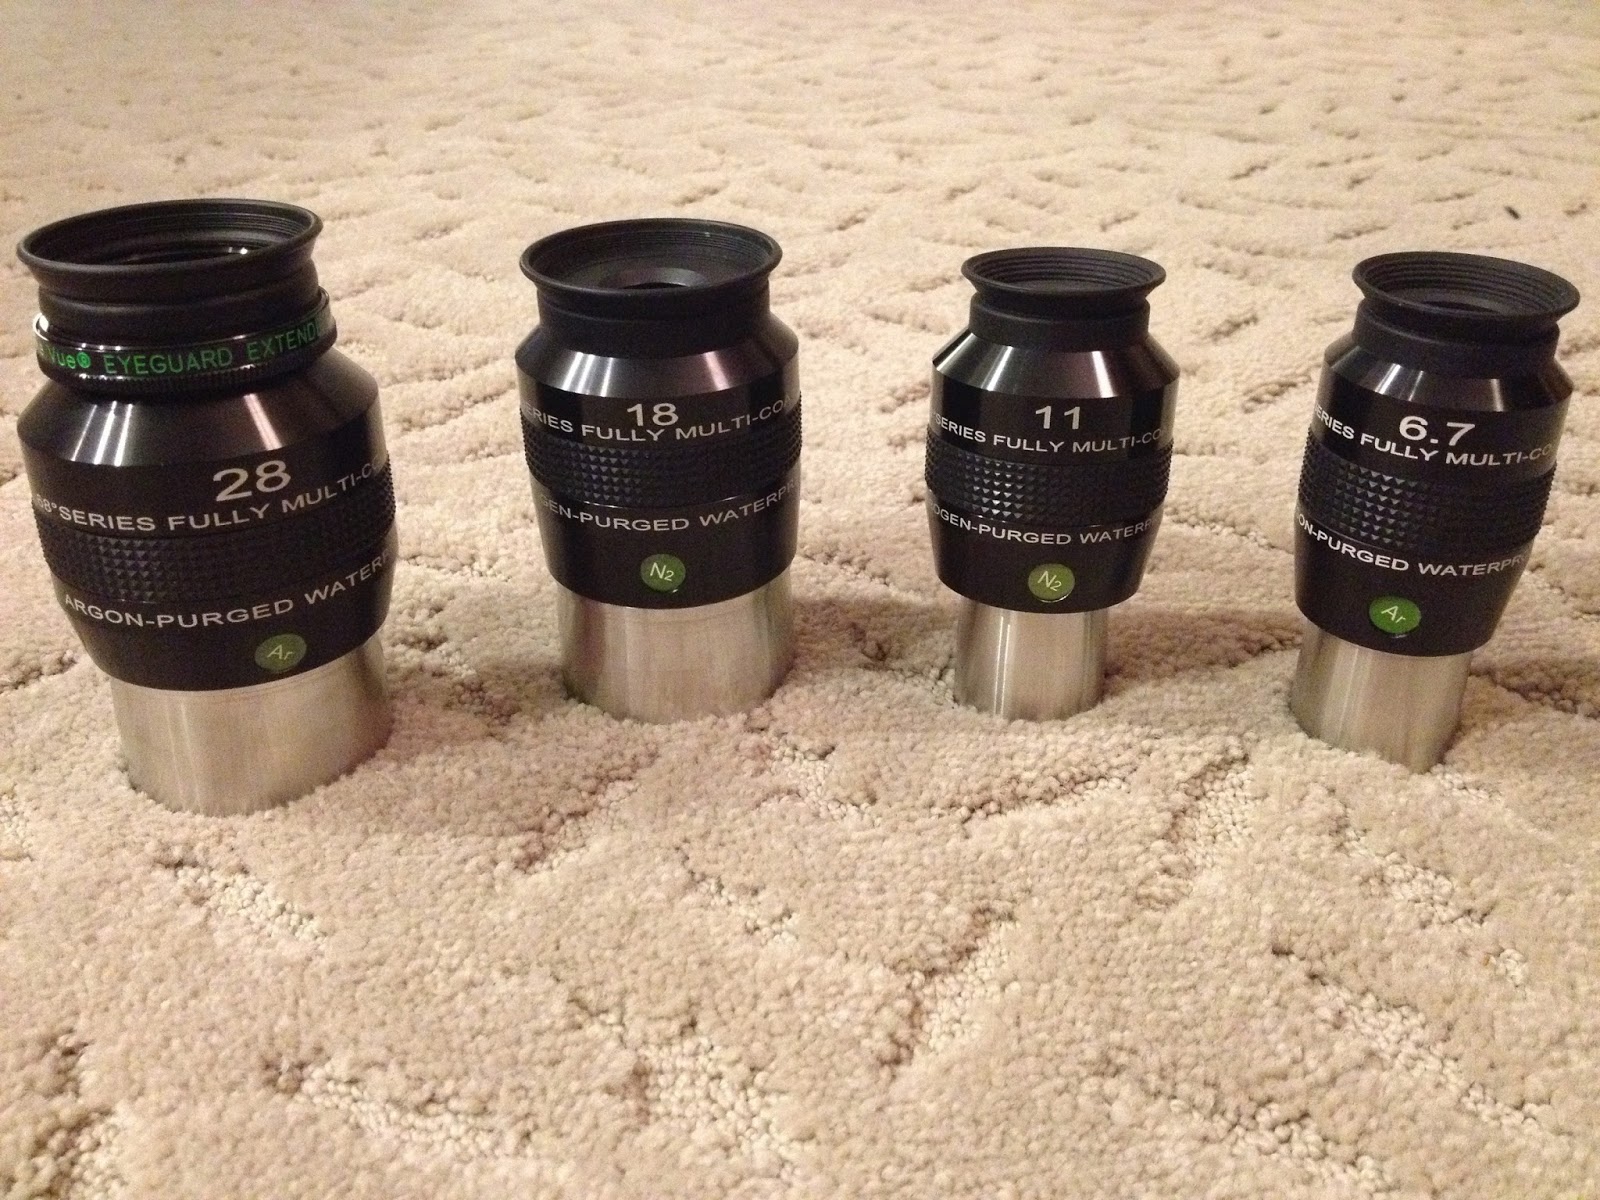
The eyepieces are all Explore Scientific.  ES68 28* - ES82 18* - ES82 11* - ES82 6.7* and an Explore Scientific 2x focal extender.  The 28* eye relief was a little too short for me so I added the Televue eyeguard extender.  Now the eyepiece is much more comfortable to use.  


I keep the 11* and 6.7* eyepieces on 2 inch centering adapters when viewing so I don't have to keep switching the adapter on the focuser.


The 2x focal extender is new and has not been tested yet.  I'm hoping to use it for planetary viewing.


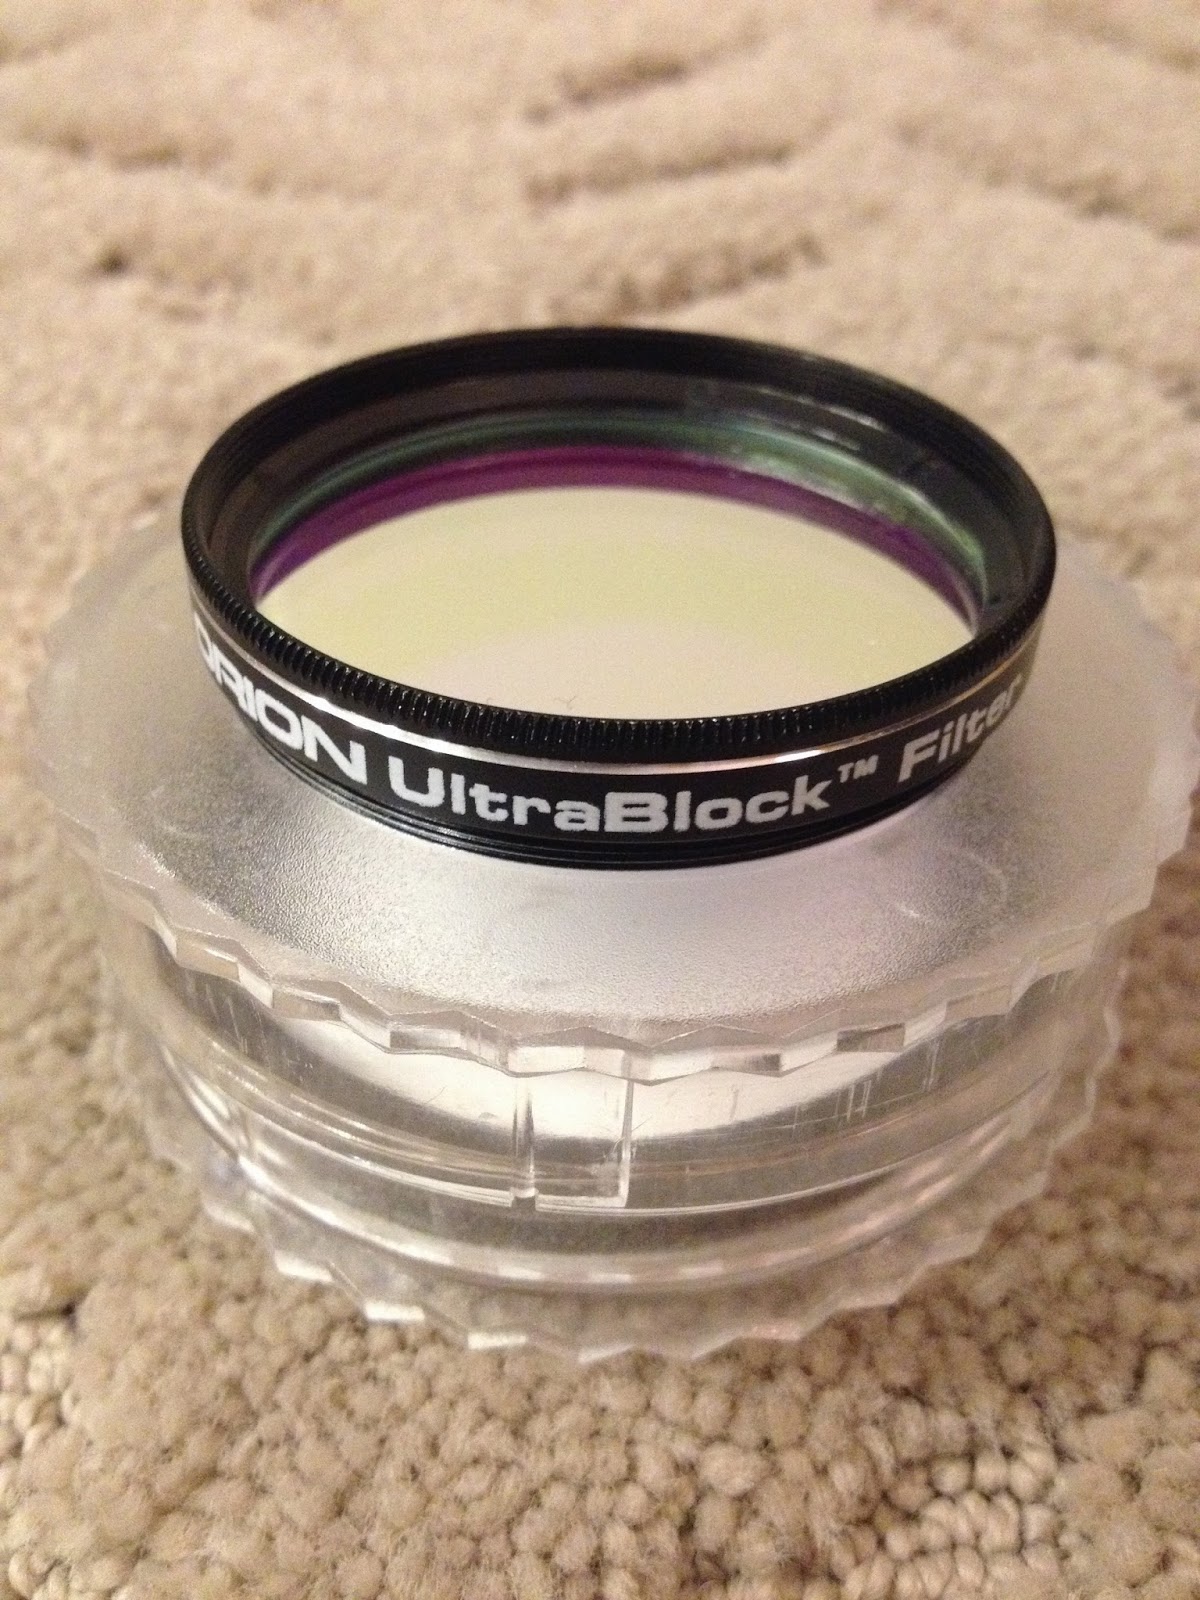
I use the Orion Ultrablock 2" filter. I haven't tried any other filters but I'm satisfied with the views so far. I had the 1.25 Ultrablock but sold it and got the 2" instead.  Now I can use the filter with every eyepiece.  The centering adapters have threads on the bottom for filters.


Carry handle

The carry handle was made from seat belt webbing and velcro, both purchased at an upholstery shop.  My Mom sewed them together for me since I have no clue how to use a sewing machine.  The webbing is light and strong and with the velcro gives a nice tight fit that doesn't slide.  The carry handle makes lifting and placing the scope in the base much easier.


Telrad and RACI finders

The positions of the Telrad and RACI were switched because I was fogging up the Telrad with my breath when looking through the RACI.  Everything was also moved closer to the focuser so I won't have to lean over the tube so much.


Side bearings

The side bearings had a little play in the and the scope would tip slightly when I zeroed in on an object.  To fix this I added a piece of moleskin to the groove in the base where the bearings sit for a much tighter fit.


Setting circle

I found the template for the setting circle on the CloudyNights forum.  After saving it to a memory stick, I took it to staples to have it printed and laminated.  I used thin double sided tape to stick it to the top of the base board.


 I cut a notch out of the base with a hole saw, painted it black then used a finishing nail as the pointer.


I double sided taped a bubble level to the inside of the base for leveling. A compass is used align the everything to true North and the base is turned until the setting circle is at 0 under the pointer.  A Wixey digital angle gauge on the telescope is used for elevation.


Flocking the mirror cell

After putting it together the cell around the mirror really stood out so I took it apart and flocked the edges of the cell to make it completely black inside.


Replaced primary center spot with Catseye Hotspot

The round center spot was a little off center so I peeled it off and replaced it with the Catseye Hotspot.  The Hotspot is also easier to use with the Catseye collimation tools.


Flocking the Tube

     Using Protostar self adhesive flocking paper to flock the inside of the telescope tube


                       Before

Peeling and Squeegeeing


                             After